The maintenance logbook always tells the same story after a midnight shutdown: “Unit tripped, attempted re-insertion, felt resistance.” What it rarely details is the bent interlock pin, the scorched cluster shield, or the near miss that could have escalated into an arc-flash incident. Inserting a drawer-type breaker assembly is a routine task, yet it consistently ranks among the top human-factor risks in low-voltage switchgear operation. In technical documentation, these plug-in assemblies are often called drawout functional units, and their safety depends as much on disciplined procedure as on the engineering built into the steel compartment. While procedure matters, equipment with built-in guidance and tested interlocks dramatically lowers the chance of error. Exploring advanced withdrawable power distribution modules can establish a safety foundation before your team even opens the panel door.
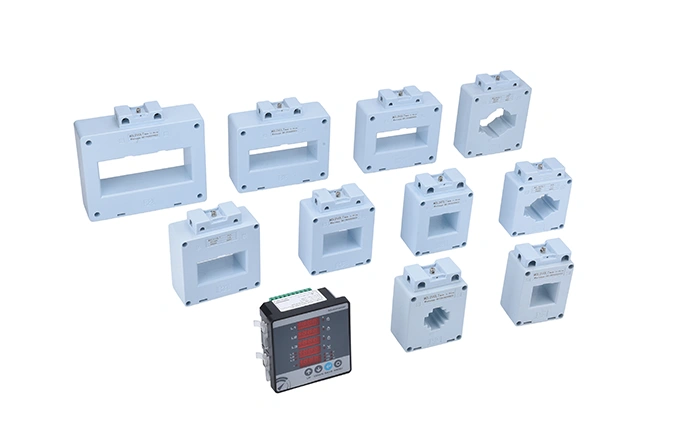
Before touching any racking handle, assume the unit is still electrically primed. Verify the upstream source is isolated and follow your lockout/tagout protocol. Inspect the cubicle interior with a flashlight—look for dust accumulation, condensation marks, or foreign objects that could obstruct the shutters. On the unit itself, check the primary disconnect clusters and secondary control contacts. Any greenish patina or pitting signals the need for cleaning or replacement. According to IEC 61439-2, drawout functional units must pass a mechanical endurance test that simulates hundreds of insertion cycles; if your unit shows visible galling on the guide rails before even reaching that threshold, flag it for service immediately.
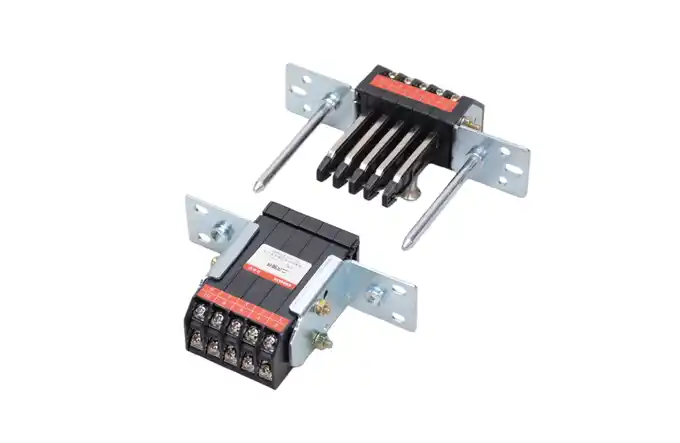
Tilt is the enemy. Most withdrawable units use telescopic rails or guide pins that demand parallel entry. Kneel so your eye level matches the rail height, then slide the unit in the first two centimeters without lifting the front handle. If you feel friction, do not compensate with leverage. Withdraw and re-check if the compartment’s creepage distance could have been altered by a misaligned busbar barrier. Many modern units now include a fool-proof coding key on the left-hand side, which prevents insertion of an incorrectly rated unit into the wrong compartment—simple mechanics that prevent catastrophic mistakes.
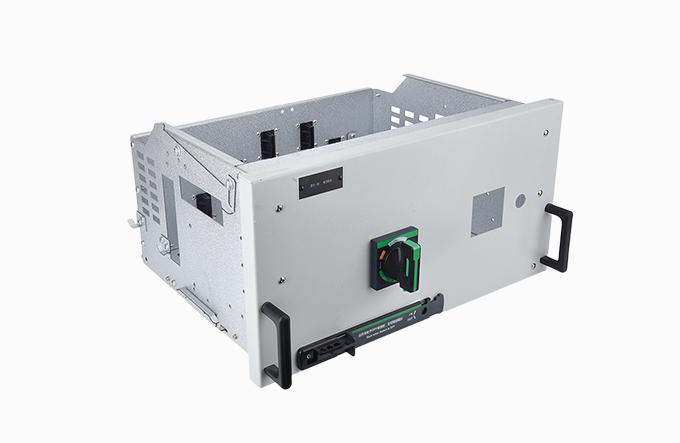
A three-position signaling system—isolated, test, service—exists for a reason. Once the unit is mechanically latched in the test position, do not race to the connected position. Use this pause to verify secondary circuit integrity: trip the breaker locally, check status indication, and confirm that padlock attachments are intact. At this point, the primary contacts are still isolated, giving you a safe window to catch wiring faults. Only after the control circuit checks out should you proceed. For teams looking to tighten this sequence, examining certified draw-out module solutions can reveal how advanced interlocks automatically enforce the test-before-connect logic, removing the temptation to cut corners.
If your assembly uses a screw-driven racking mechanism, always use a calibrated torque tool instead of a standard ratchet handle. Excessive torque deforms the travel nut and leads to incomplete contact penetration, which in turn causes hot spots at load. Rotate steadily; any sudden increase in resistance indicates a shutter jam or a misaligned earthing contact. Stop, withdraw to test position, and investigate. Never lubricate racking threads with conductive grease or spray as this traps conductive dust.
Once the position indicator shows “Service,” insert the designated racking lock or captive bolt. Perform a final tug test to ensure the unit cannot be unintentionally withdrawn. Close the compartment door only after confirming that the earth connection is made ahead of the main contacts—this is an automatic sequence on properly maintained drawout functional units and a critical safety requirement to shunt fault current back to the earthing grid. Record the insertion in the operations log, including the measured contact resistance if your PdM program requires it.
Forcing past the interlock: Interlocks are designed to prevent closure under load. Bypassing them even once can micro-crack the arc chute.
Skipping compartment inspection: A forgotten M6 washer in the shutter can cause a phase-to-phase fault during racking.
Using the same personal protective equipment (PPE) as five years ago: Incident energy calculations change; make sure your arc-rated clothing matches the upstream protection study.
Ignoring the “wobble test”: If the unit wobbles after insertion, the guide rail may be worn beyond tolerances. This leads to fretting corrosion on control plugs.
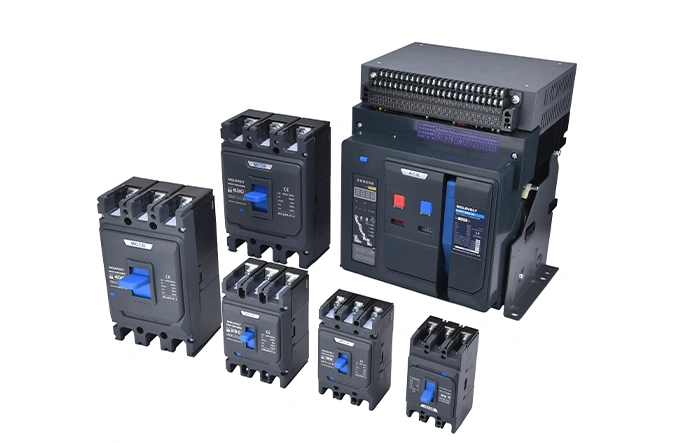
Procedures are only as effective as the operator’s muscle memory under stress. That is why a growing number of electrical safety managers insist on boards that embed passive safety features—such as metal-clad shutter systems, integral racking locks, and pre-engineered plug-in assemblies with factory-set contact pressure. When upgrading or designing new panels, specifying drawout functional units that carry third-party type-test certification (e.g., ASTA, KEMA) ensures that those safety mechanisms actually work at rated short-circuit levels, rather than just being listed in a brochure.
If your facility is moving toward a zero-harm target and you want the equipment to do more of the heavy lifting, MOLDVOLT’s safety-optimized drawer units integrate full mechanical interlocks, dedicated test positions, and plug-and-play auxiliary wiring—all type-tested to IEC 61439-2. Every unit ships with an insertion force log, so your team starts with a verifiable baseline.
Disclaimer: This guide provides general best practices. Always defer to the manufacturer’s operating manual and your site-specific risk assessment before inserting or withdrawing energized equipment.
pubdate: 2025/10/09 2026/06/23
4 Common Insertion Mistakes That Void Warrantypubdate: 2025/10/09 2026/06/15
5 Factors for Choosing a Drawer Cabinetpubdate: 2025/10/09 2026/06/08
5 Daily Checks for Drawer Switchgear